Field Blur Filter for Affinity Photo
graphicxtras > Affinity Photo tutorials > Affinity Photo Filters tutorials
The Affinity Photo field blur filter can be found in the blur category of the filter menu in Affinity Photo. The field blur tool comes with a variety of options and you can add control points / handle to localize the blurring and power of the blur, working best with multiple pins
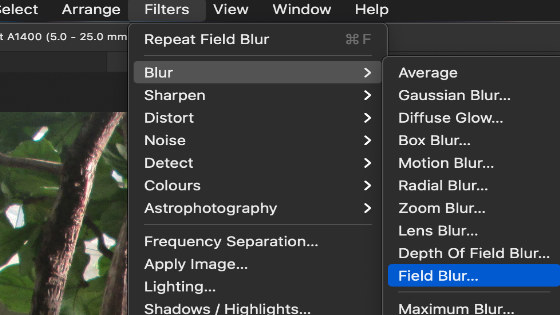
1. Where is the Field Blur filter
You can find the field blur filter in the filter menu and blur and field blur. You can also find a non destructive layer version in the layer menu and new live filter layer and blur and field blur
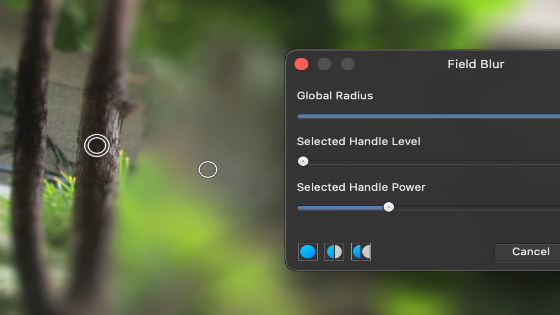
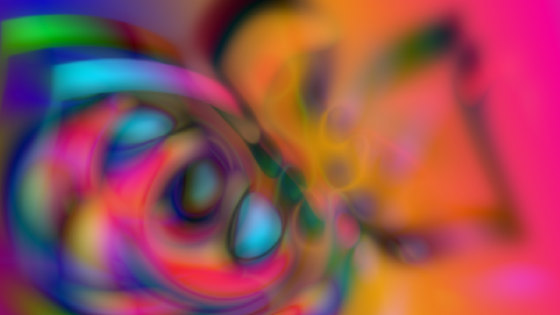
2. Basic field blur filter
Displays a panel with three options as well as a control handle to position the blurring effect and you can control the strength as well as level of influence and also the point of the blur. You can also click the art board in different locations to add an additional pin (more than one) to again influence the effect of the blur. You can move the pins back and forth or select areas of interest in your image that you want to have in sharp focus and areas where you want the image to be blurred.
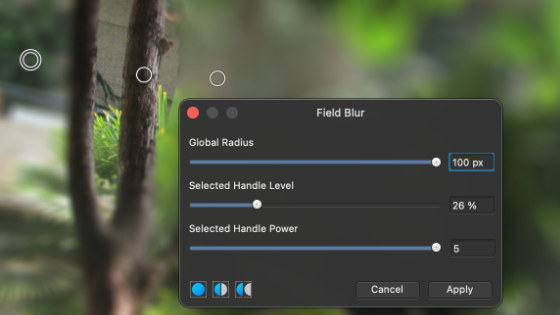
The global radius controls all the handles overall blurring and can be controlled via the panel as well as just dragging across the image which can extend the field blur value beyond the displayed 100px. You can modify the power and level of the handles for each handle in turn so select the handle and you will get a slightly thicker handle and the values will change. If you want to have a sharp object and the rest to be blurred, it seems, to me, work best with three different controls, one to the left of the object and one to the right and one on the object. The handles on the side have maximum level to blur everything to the left and right and selected handle power is set to about 1.3 or so in all cases. The handle on the sharper object has a very low handle level. This is for this image, a different image with different objects may require a totally different setup of handles and settings. Sadly the filters all lack presets in the current version (actions being a possible workaround for that)
3. Field Blur filter on layers
You can always work on a layer, perhaps a new layer or a duplicate of the image as a layer and then use the field blur filter. This gives the flexibility of being able to delete the effect as well as blending the effect with the underlying image. With the layer selected via the layers panel (view menu and studio) go to the filter menu and blur and field blur and apply the effect using as many handles or changes of settings as you wish (what works well with one image may fail in another).
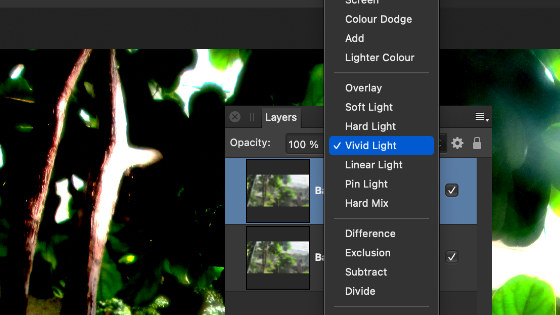
Once you have done that, you can then use the layers panel and the layer above and change the blending mode to difference or darken etc and the result often is a more dreamy look than just the default blur. You can also try this out in an easier way via the live filter layers menu field blur.
4. Field blur and channels
You can use the filter in different channels. Display the channels panel via the view studio menu and then select the red channel and apply the field blur to that, repeat with the green channel but with different settings etc to create some extreme and unusual color blurring effects.

5. Combine with other filters
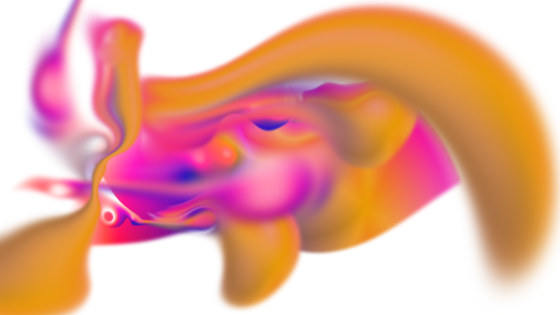
The field blur can be combined with all number of other filters such as the deform filter for distorting the blurring effect as well as with noise filters such as the powerful grain effect add noise filter Duplicate the image and then apply the field blur as normal to the top selected layer and also then decrease the size of the layer using the handles. With the layer selected, go to the filter menu and distort and deform.
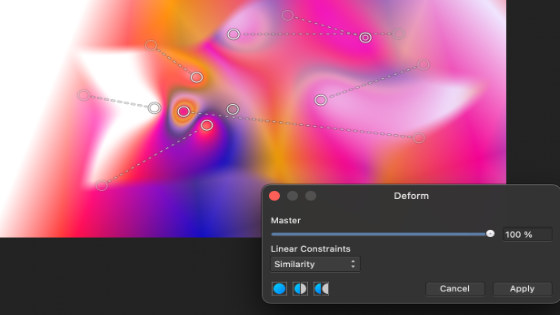
You can create all kinds of ghostly weird distorted shapes from the combo of deform and field blur especially when using a gradient layer. The various steps can also be recorded into a macro and replayed at any point.
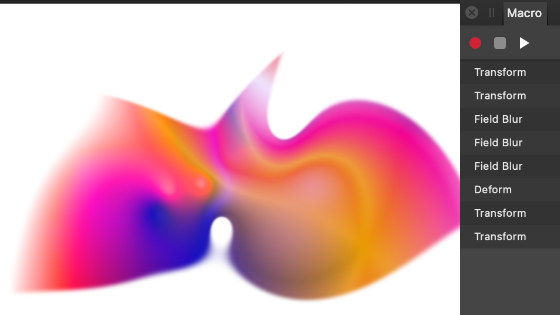
6. Macro and filter
The filter has no presets, the quickest and easier way to store the effect is the macro but as the handles depend on the image, the result may not be the same and the blur will blur the wrong part of the image. Still it can be used as an interesting visual effect such as combining a layer with a gradient and the deform filter and field blur etc and this can then be generated at any point especially if the macro is saved to the library panel (view menu and studio and library)
You can then simply apply it again by pressing the playback in the macro panel with the same layer selected or perhaps a duplicate of the layer and then repeat that. Multiple layers can then be blending using blending modes via the layers panel.
7. Field Blur filter and text
The filter as well as the live filter layer can be used with artistic as well as frame text. Select the layer and then go to the filters menu and blur and field blur and then add the handles and the settings to blur parts of the text and leave the rest fairly untouched by setting the handle value to close to zero. The blending modes are perhaps not as useful with this filter but you can also combine with other filters such as deform and other blurs.
8. Field blur filter and shapes
You can create shapes very quickly via the shape tools such as a donut tool or a cloud tool design. You can also select that layer and apply the filter to that layer.
You can add multiple handles and set the handle level for each and have the handles close or handles far away and you can then manipulate the blur in many different ways with the colors of the shape smearing off / bleeding off the edge of the shape and those layers can be duplicated and combined using the layers panel and blending modes. You can also keep the shape live by using the live filter layer option in the layer menu