Illustrator Wrinkle Tool Tutorial
graphicxtras > Adobe Illustrator tutorials > Illustrator tools tutorials
Wrinkle tool / brush in Adobe Illustrator and learn how to use it to deform paths. How to use the wrinkle tool in Illustrator to manipulate points in 1000s of ways to create the most amazing distorted designs, open or closed paths etc. The wrinkle tool is found in the Illustrator toolbar
** Youtube video tutorial on how to use the wrinkle tool to warp paths in 1000s of ways in Illustrator **1. Where is the wrinkle tool in Illustrator
The Illustrator wrinkle tool / brush is a powerful tool to manipulate and warp and deform Illustrator paths. The wrinkle tool can be found in the width tool section of the Illustrator toolbar
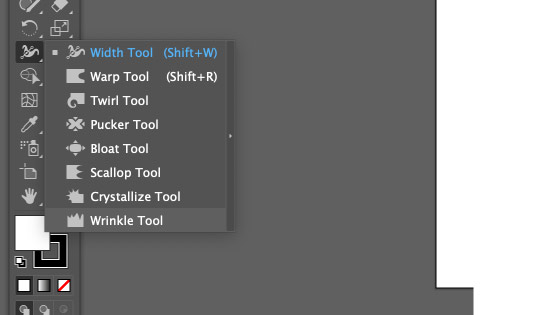
Go to the width tool in Adobe Illustrator toolbar. Select the wrinkle tool in that group (should be at the bottom of the tool group) where you can also find the crystallize Tool in Adobe Illustrator etc
2. Basic use of the Wrinkle tool in Illustrator
Select a path in art board (can be used with paths, closed and open, strokes, lines, type and much more). You can double click the wrinkle tool icon in the toolbar to display the options to be applied to the selected path.

Apply the wrinkle tool to the selected path
3. Wrinkle tool options - access them by double clicking the wrinkle tool icon
There are a lot of options to take in with the wrinkle tool such as width + height + angle + intensity + pressure + horizontal wrinkle + vertical wrinkle + complexity + detail + brush affects anchor + brush affects + anchor in tangent + brush affects anchor out tangent
Will go through the options throughout this tutorial but to see them in action I would suggest checking out the video at the top of the page as there is a lot of functionality with the wrinkle tool.
4. Adding a little randomness with the wrinkle tool to any paths in Adobe Illustrator
There is a lot of randomness with the wrinkle tool in Adobe Illustrator so if the setting is set to 100% you probably won't get 100% but perhaps something close (be nice if it was more like the brush tools with a range of settings and not just a setting.
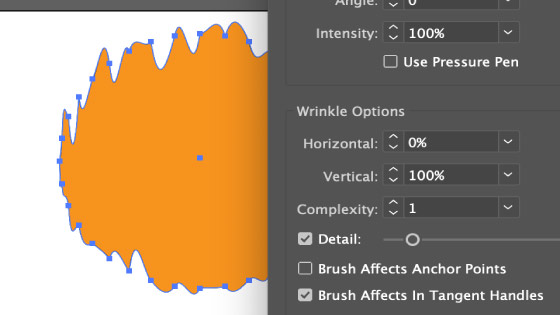
5. Vertical settings only for the wrinkle tool
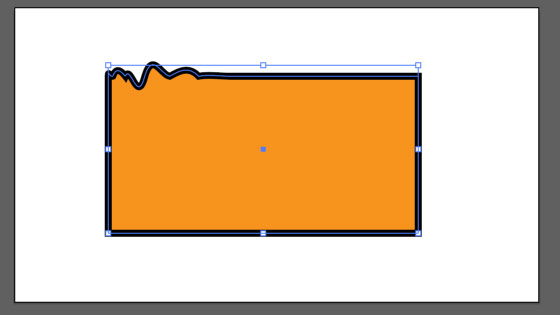
Most of the settings have been set to emphasis vertical so you can see no wrinkling on the horizontal (you can see from the image that the horizontal is set to 0 so all the activity is vertically)
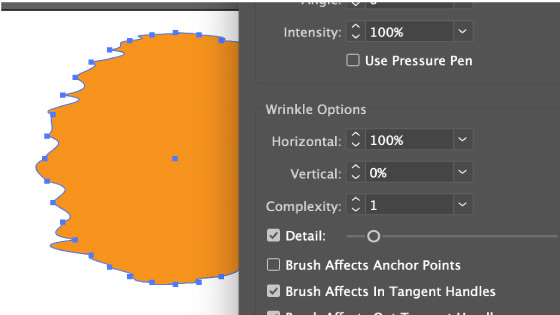
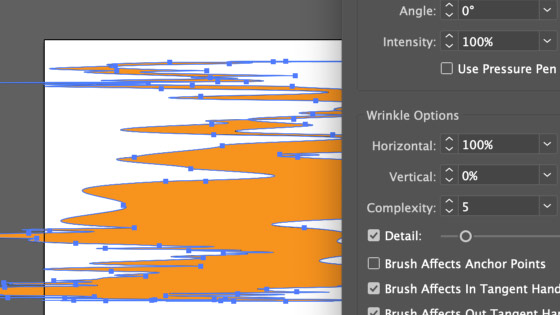
6. Horizontal only for the wrinkle tool
If you set the horizontal to 100% and the vertical to 0% it changes the angle by 90 degrees
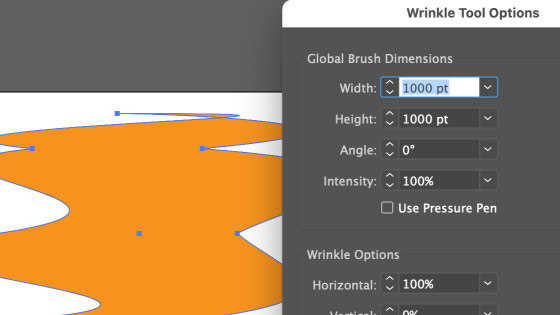
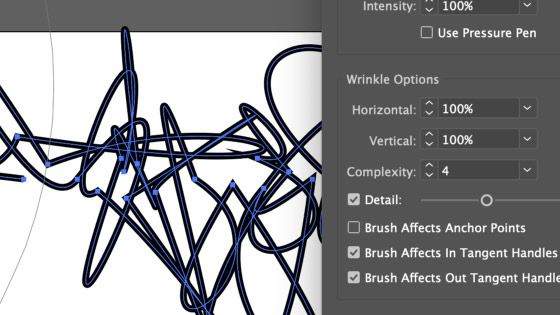
7. Adding a lot of points with the wrinkle tool
Anyway, just select the paths and then apply the wrinkle tool to the paths (or path) and the wrinkles will be added but the key thing to remember is that in many cases, a lot of points will be added especially if you set the complexity (great for a scribble like effect with the wrinkle tool especially mixed with angle) and also detail. Lots of points can be added to a small region with a very small brush
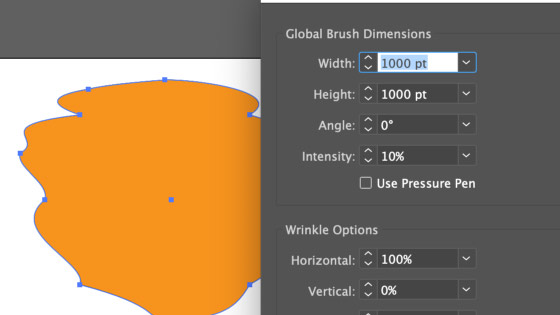
You can add a lot of points especially to a localized area if you set the wrinkle settings low or zero and set a small brush size for the localized area (or the entire set of paths if you have a large brush size for the wrinkle tool) such as setting the width to 1000pt and height to 1000pt especially when the object you are wrinkling is very small
8. Intensity of the wrinkle tool - More control
You can also control the overall intensity of the brush effect via the size as well as intensity, for serious settings set it to 100% (but sadly no more, what is it with Illustrator that the settings rarely can go to 1000%) and if you wish to create only a subtle change with perhaps multiple re-applies then use a low setting of intensity and wrinkle option vertical and horizontal. Very low intensity requires a number of re-applies to create any noticeable change but it does perhaps give more of a control over the end result, certainly 100% the change can often be quite rapid
9. Complexity setting of the wrinkle tool
Complexity and detail are interesting features, set it low and it is more a warping feature, set it high and a lot more points are added via the wrinkle tool
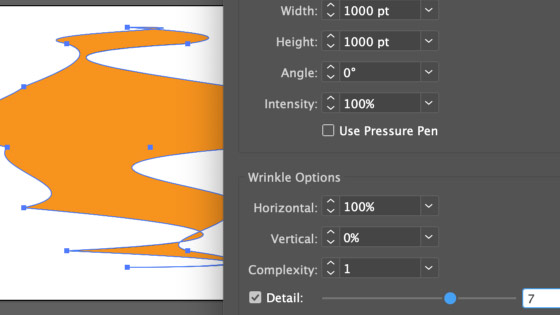
Double click wrinkle tool in toolbar and set width and height to 1000px and set intensity to 100% and set detail high to add more points or low to have less points and set complexity higher for more points (or lower for less) and set horizontal to 100% and click OK and then apply wrinkle tool in Adobe Illustrator to a path
High complexity setting
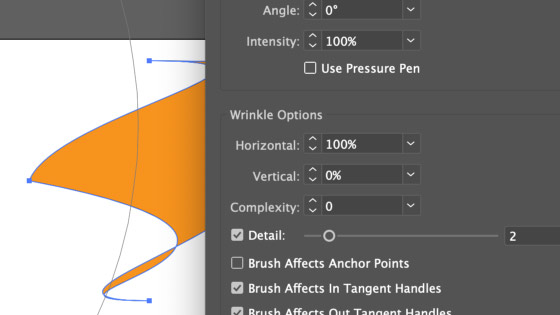
Low complexity setting
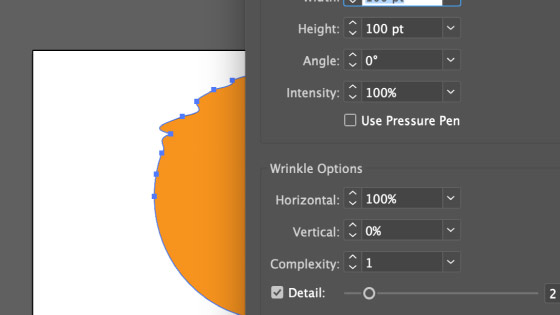
10. Detail setting
Much like complexity, keep it low if you don't want to add points and the result is a more fluid warping. Set it high and you will generate a far more complex design
11. Open Paths and the wrinkle tool
You can use the Wrinkle tool with open paths as well as closed paths. Just select an open path or create one with the curvature tool and then apply the wrinkle tool to that and you will end up with an intense wrinkled or crinkled line depending on the settings.
12. Generate lots of points but no wrinkle in Adobe Illustrator and those points can then be used with other tools in Adobe Illustrator to create amazing designs in seconds
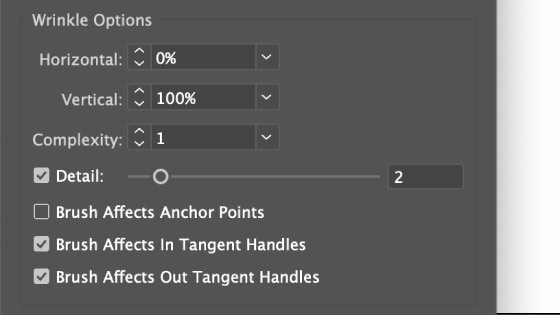
If you want to use it just for adding points then set the wrinkle to 0 and set the complexity and detail to a little higher (5 and 2 etc to add a lot of points and complexity). The wrinkle tool does need the settings to be all set correctly for it to work so you may find that if you have no horizontal setting and all the lines are vertical then nothing much will happen.
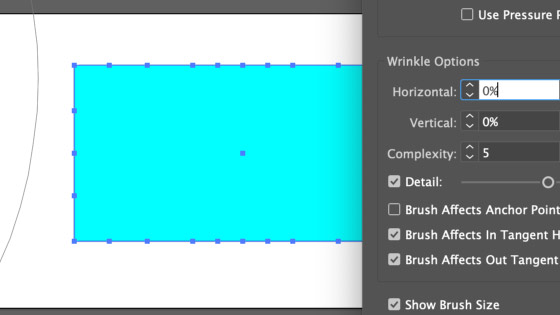
The image shows a lot of points (but no wrinkling) You can then use the powerful direct selection tool or curvature tool etc to manipulate the points
Select a path and double click the wrinkle tool in Adobe Illustrator toolbar and Horizontal to 0% and Vertical to 0% and Complexity to 5 and set all anchor to ON and tangents to OFF and OK. Apply wrinkle tool to segments
You will now see a number of points have been added but no wrinkle effect. To move the points, use direct selection tool
13. Anchors and tangents with the wrinkle tool - create different and unique designs by setting them on or off
Another great feature of the wrinkle setting in Adobe Illustrator is that you can modify the anchor and tangent or anchor or tangent and so you can keep the lines or paths in the same place but the shape will radically change but all the anchors will be stuck in the same location.
Likewise, the tangent can be set to off and the anchors can be made to move.
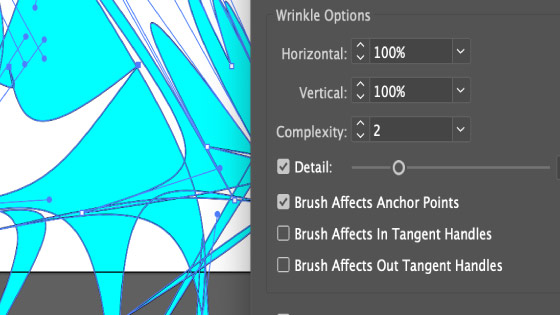
To affect just the anchor points (and not the tangents) and double click the wrinkle tool and set the brush affects anchor points to ON and brush affects tangents "in"and "out" to OFF and click OK and apply wrinkle. The result is a very sharp angled look
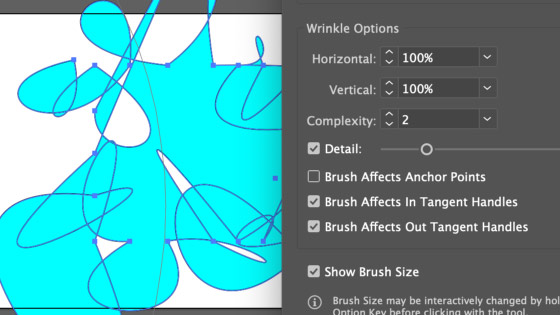
In this case, the anchor points are off and the tangents are ON - you can create more rounded designs than the sharper
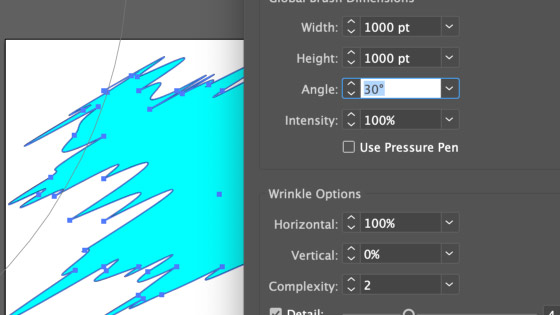
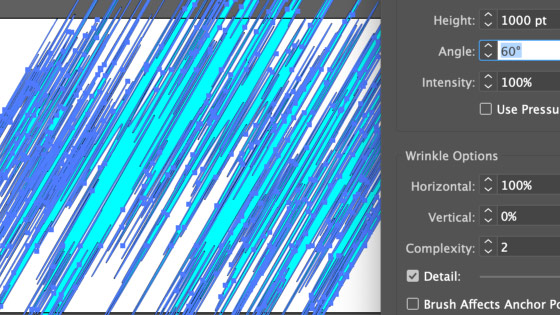
14. Wrinkle tool at an angle using the angle settings and horizontal - create intense cutting wrinkle designs in Adobe Illustrator
You can also use the wrinkle tool / wrinkle brush setting 'angle' to change the angle of the anchors etc as well as the tangents (depending on the settings) to create lines going off approximately in 60 degrees or 30 degrees etc depending on the setting. Sometimes randomness in the angle kicks in and sometimes not. Again, I would love to see randomness with a little more control to the range of randomness also as well settings to the negative as well as just positive.
The wrinkle tool can modify Illustrator paths (closed or open) in many extreme ways to create some truly unusual shapes even from a basic path such as a circle or square and can also be used to wrinkle converted type as well as expanded symbols. It is much like the tweak filter but it comes with many additional features and it can be used like a transform tool as well. A very useful feature tucked away in the width tool section of the toolbar.
Create a path and Go to the Illustrator wrinkle tool and Double click. Set the horizontal to 100% and vertical to 0%. Set angle to 60 and Set anchor points ON only and Set complexity to 10 and click OK. Hold over segments and keep holding for a while. Move to another part of the path
15. Wrinkle with repeat feature
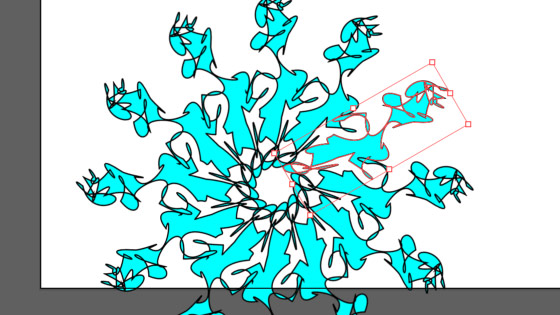
You can use the wrinkle tool with paths inside a repeat object (object menu and repeat and radial). The changes with the wrinkle tool are reflected in all the paths