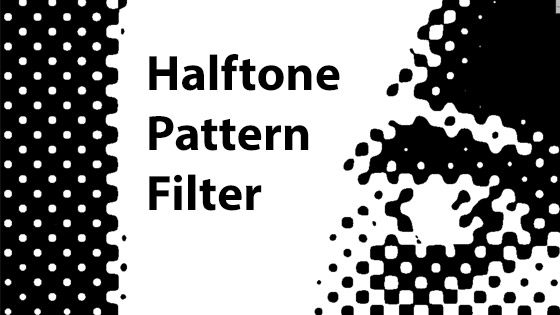
Photoshop Halftone Pattern Filter Op Art Tutorial
graphicxtras > Adobe Photoshop tutorials > Photoshop filters tutorials
Use the Photoshop halftone pattern filter to create all kinds of op art designs, line designs and more. Halftone pattern filter can be used to create dramatic overlays and backgrounds and more.
1. Where is the Halftone Pattern filter
You can find it in the filter menu and filter gallery and Halftone pattern.
2. Basic features of the halftone pattern filter
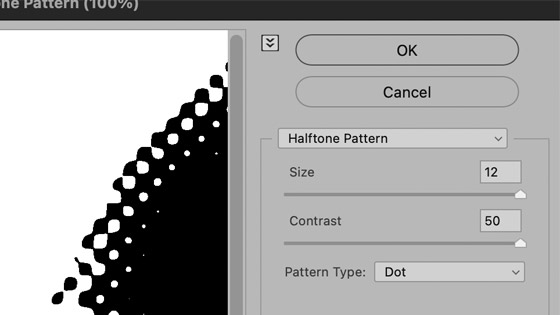
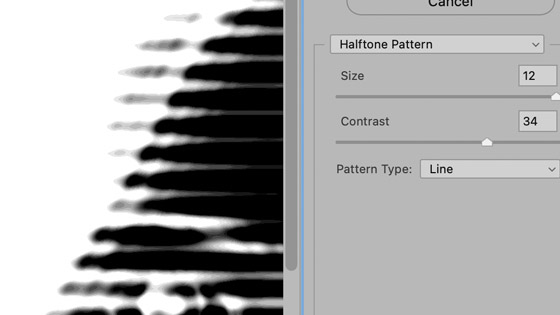
The first thing to do is set the foreground and background colors in the toolbar as the halftone pattern filter uses that for its color. Select a layer and run the filter via the filter gallery. Select the size and contrast and another pattern type such as circles, dots and lines.
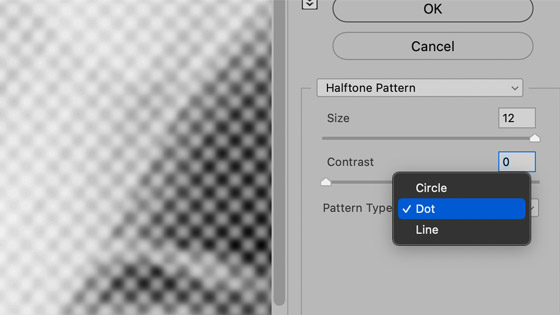
Set the contrast to 0 to make a very low contrast halftone. Reduce the size to 1 or 2 to make very fine dots or lines depending on the image. Select the circles option to make circular designs however you cannot control where the circle origin is, it is in the center of the image
Or use the line option but sadly the lines only go in one direction, horizontally
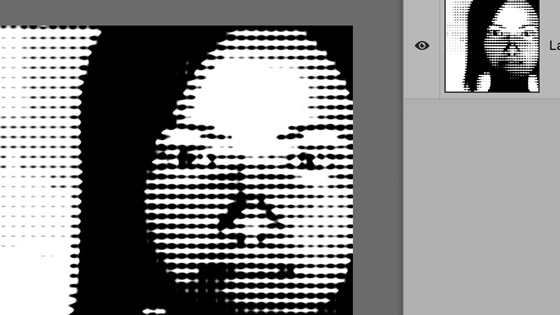
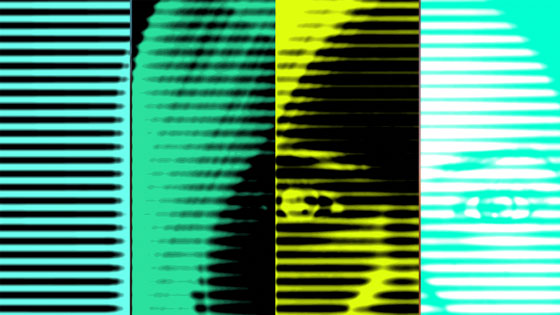
3. Apply multiple lines using halftone filter
The tool only applies horizontally so to apply multiple lines at different angles, rotate the design and then apply the effect and then rotate back again. This is not an ideal workaround.
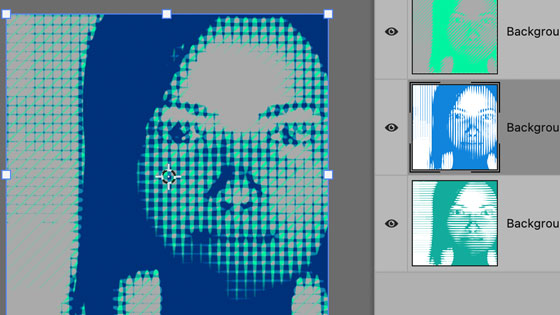
You can also layers to create line combos. You can rotate (to a reasonable degree) the layers to any angle and then apply the horizontal line effect via the halftone pattern filter and then rotate the layer back to where the image etc overlaps with the lower layers, and then use blending modes to combine the layers to create an unique halftone pattern effect. All this can be saved to an action via the action panel (create layers, transform layers, apply halftone pattern)
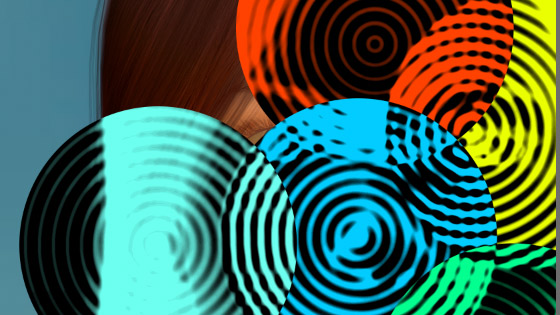
4. Apply multiple circles using the halftone pattern filter
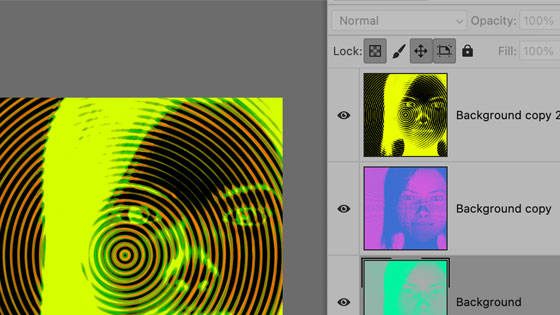
You can use the filter multiple times on the same image with different settings as well as different foreground and background but the end result will always end up with the last used color scheme. You can get around this by using layers, create multiple copies of the image and then use blending modes to blend all the circle layers. Create three or four duplicate layers and then go to each layer and set the foreground and background color and then apply the halftone filter to the layer and set the circle size to a different value for each. Once you have applied the filter to all the layers, go to the layers panel and change the blending mode for each layer so you can see the effect throughout the image. You can also record all of this as an action.
5. Use selections with the halftone pattern filter
You can use the filter on the entire layer, you can also use the halftone pattern on a selection. If you are using the circle option, this gets over the limitation of the center always been the center of the image.
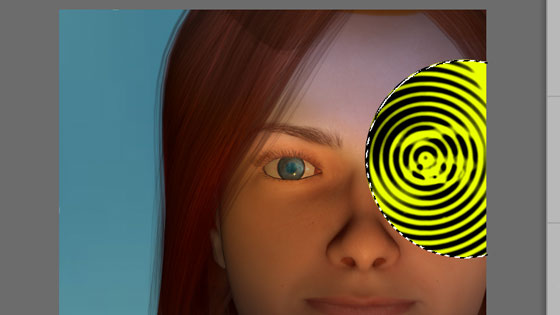
You can always move the selection as well as either leave the same foreground / background color or move the selection and change the colors to create an abstract colorful circle design in different colors.
The same can be done with the lines etc, perhaps create a vertical rectangular selection and apply the filter with one set of colors and then move the selection and repeat with a different set
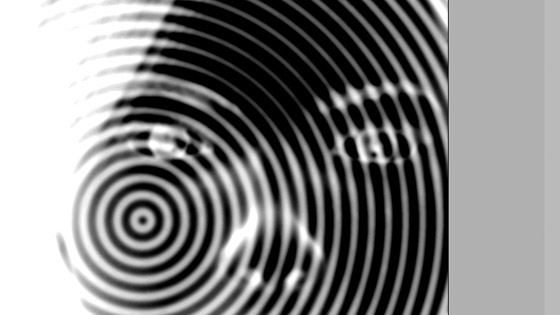
6. Use halftone pattern with a gradient
You can create all kinds of gradients using the gradient tool and then apply the halftone pattern to that, perhaps with the colors set to black and white (or yellow or green) to create an op art like design
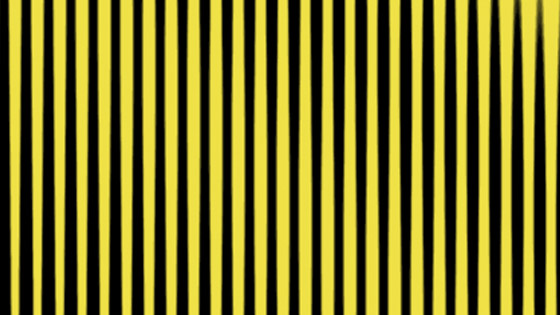
You can see the lines of the halftone vary depend on the underlying gradient. Effects etc such as the twirl filter to distort the lines can be used or a bas relief or glass filter effect or use the halftone multiple times to create an unusual combination of lines or plaster filter etc.
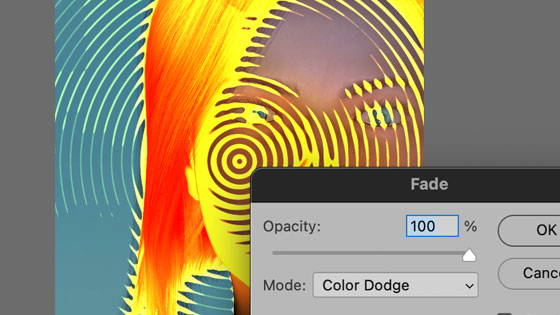
7. Fade the halftone pattern filter
Once you have applied the effect, you can always go to the edit menu and fade the halftone pattern using the opacity as well as blending modes.