Affinity Designer Group Layers Tutorial
graphicxtras > Affinity Designer tutorials > Affinity Designer How To tutorials
How to group layers in Affinity Designer, how to use the layers panel and grouping assets in all kinds of way via the paste inside command. Create basic as well as complex designs via the layer grouping
** Youtube video tutorial on grouoing ,ayers in Affinity Designer **1. Paste inside / layer grouping
How to group layers in Affinity Designer via the paste inside command. The key panel is the layers panel and the key command is the edit menu and paste inside.
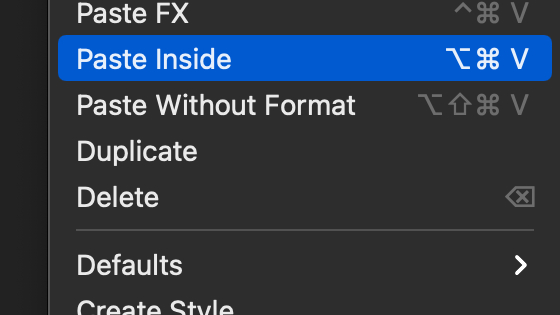
Select some paths and copy them via the keyboard or menu. Goto another path and then select that, goto the edit menu again and use the paste inside command.
2. Manipulating the grouped paths
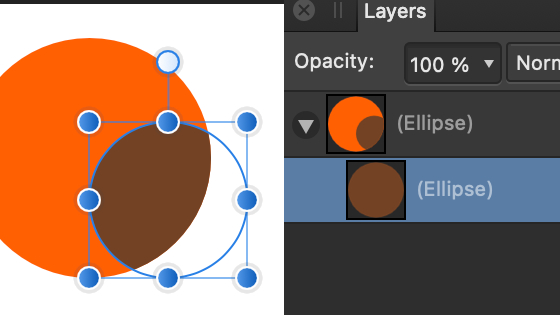
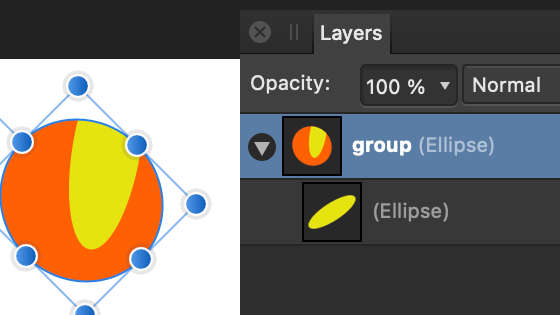
You will now see the select path but beneath that you will see all the pasted paths and they are inside the design and you can continue to manipulate those designs such as scale them or add effects and adjustments etc as well as rotate them but they will be confined by the main container path. To manipulate the underlying path, simply select it in the layers panel and then re-size or rotate that design or change the color. If you want to manipulate the entire group, click the top of the group and then manipulate that instead.
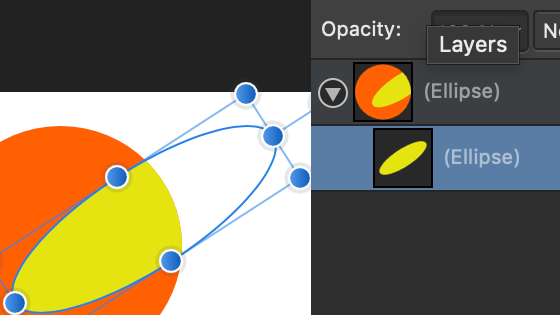
Or manipulate the head of the group (in this case the ellipse)
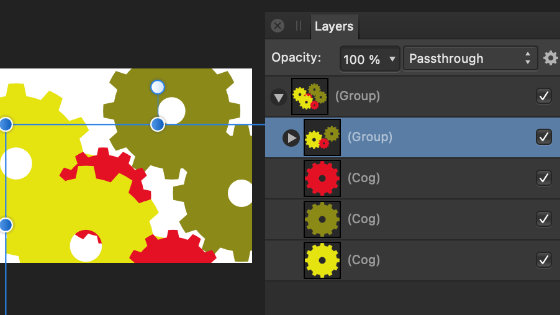
3. Grouping paths
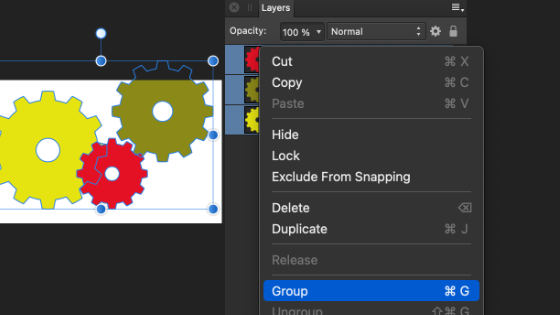
You can select any of the paths and then right click and then select the group command. All the paths selected are now grouped and can be moved around the Affinity Designer as a group or as one.
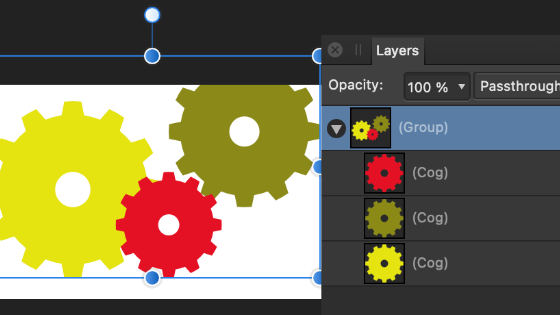
You will then see them as part of a group in the layers panel
4. Duplicating groups of layers
You can select the group and hold down the alt or option key and drag and duplicate the group, you will then have another group and you can move that independent of the earlier group as well as re-color etc
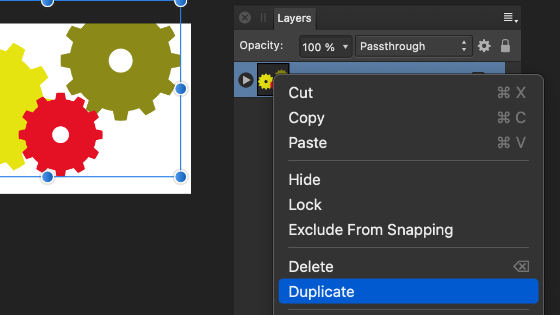
Duplicated group
and select the individual paths to manipulate
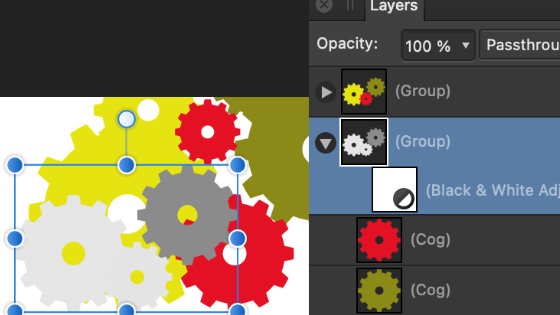
5. Adding adjustment layers to groups
You can also add adjustment layers to the group. If you have selected the group and you go to the layer menu and new adjustment layer, the adjustment will only be applied to that group and not to any of the other groups or the container. So if it is a black and white say, only that selected group will have the adjustment layer and only that will be turned into black and white.
6. Moving groups into groups
You can move groups into groups, simply drag the group into the side of the other group and a little highlight will appear to show that you are adding the group / paths to that group. I would say it can get messy grouping groups within groups though 99% of the time it is fine, sometimes the results can be unpredictable.
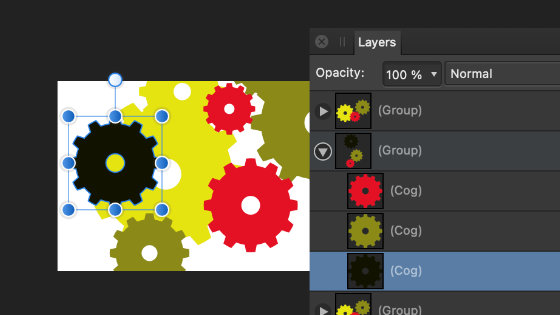
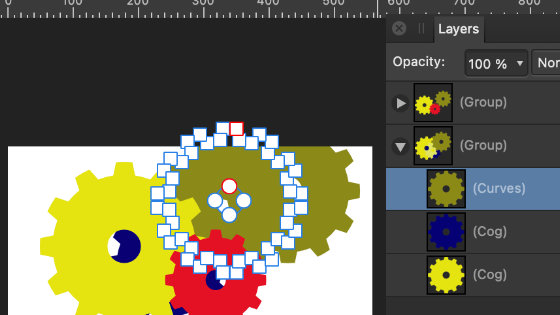
7. Modifying individual paths in group
Within the group, the paths can still be independently manipulated so if you are using a circle or a cog design etc you can always go to the convert to curves and then move the individual points of one or more paths with the node tool. Or perhaps you want to change the corners of an artwork in the group, select and then use the corner tool on that path and none of the other items will be changed.
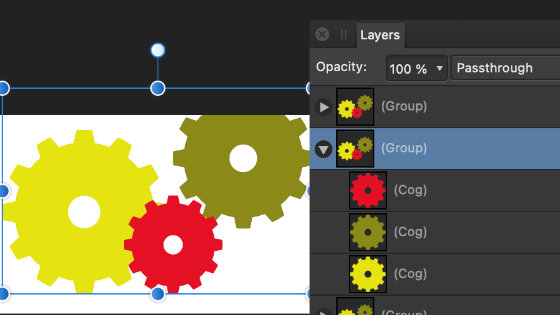
8. Blending modes of groups
You can also change the blending mode of the group as well as the individual path

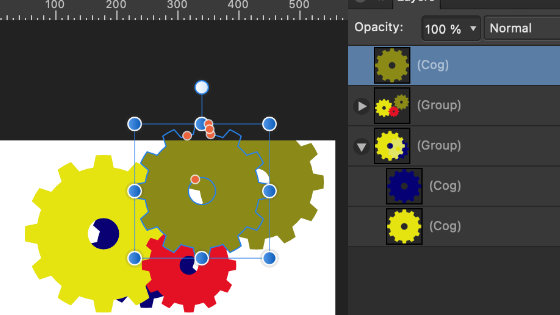
9. Re-ordering layers in groups and beyond
If you want to move a path out of a group or above or below another path in the group, simply select and then drag above or below or drag the path out of the group and place it above the entire group or below the group entry. The other paths in the group will be untouched.
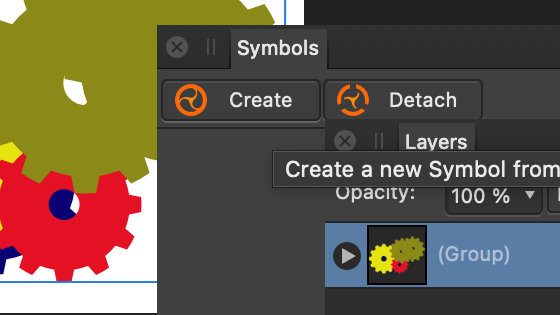
10. Group layers and symbols
Grouping layers is super useful for symbols as well, if you have a multiple path design and it is not grouped and you try to add it as a symbol, the paths will all be independent symbols. Use the group command to add them as a single symbol