Affinity Designer Symbols tutorial
graphicxtras > Affinity Designer tutorials > Affinity Designer How To tutorials
How to use symbols in Affinity Designer and how to modify them and color them and more. Symbols in Affinity Designer are a powerful tool for re-use of designs. You can use Affinity Designer symbols to store images for common elements in artworks. How to use the symbols / instances in Affinity Designer
** Youtube video tutorial on symbols in Affinity Designer **1. Where are the symbols in Affinity Designer
You can find the symbols panel in Affinity Designer via the view menu and studio and symbols command.
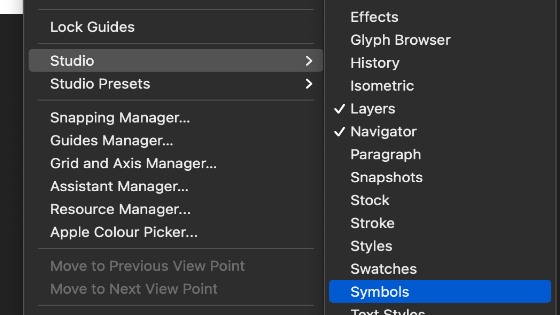
Open Affinity Designer and then View menu and then Studio and then Symbols
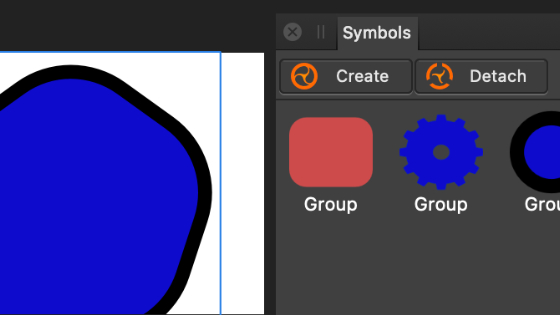
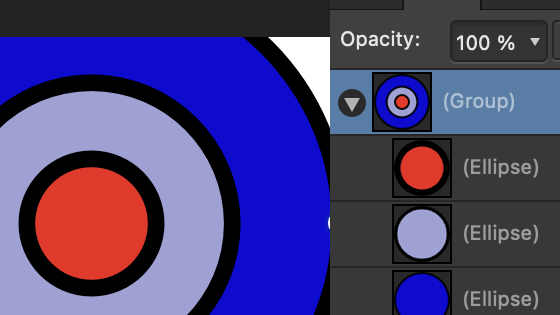
The symbols panel has three buttons, create and detach and sync.
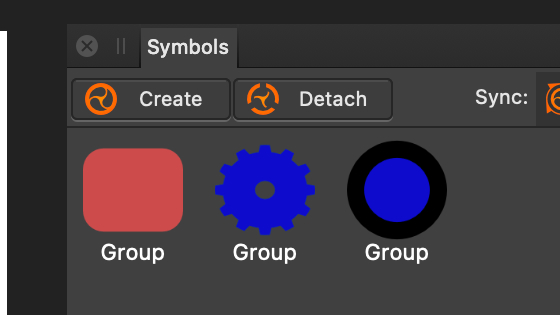
Symbols can be anything, designs such as cogs, squares, text, multiple path designs, lines, etc
2. Basics of symbols / To add a new symbol to the panel in Affinity Designer
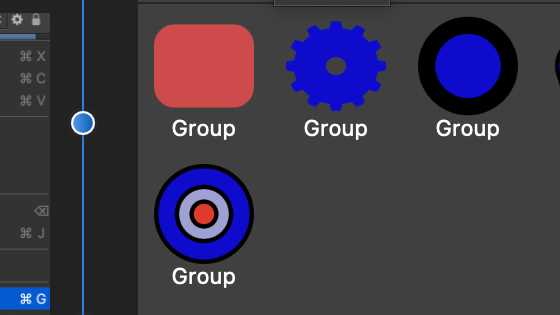
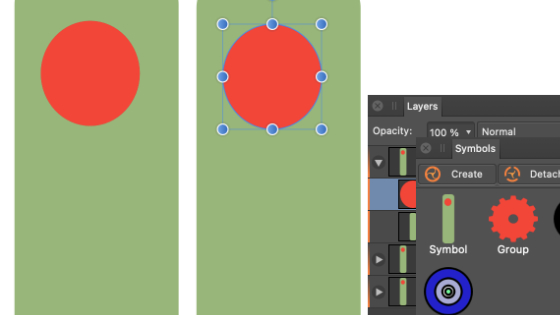
Select a path / shape / type and View menu and then Studio and symbols and Click the create button in the symbols panel in Affinity Designer
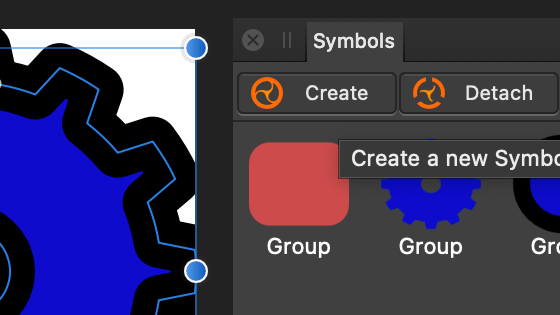
If you have one path then the create button will add that single path (such as the cog design above) to the panel. If you have multiple shapes selected then you will add multiple symbols. See the groups section to get around this (you may want multiple symbols from multiple paths)
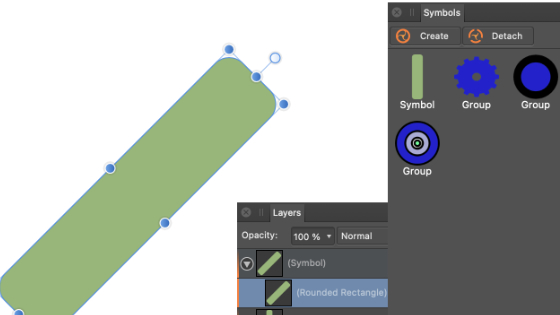
3. Grouping paths for a single symbol
If you want the paths to be all added together then you must first use the layer menu and group command. Click create after grouping the paths.
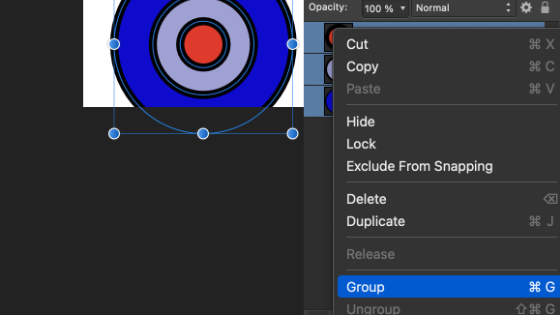
Select multiple paths and layer menu and group command and symbols panel and click the create button
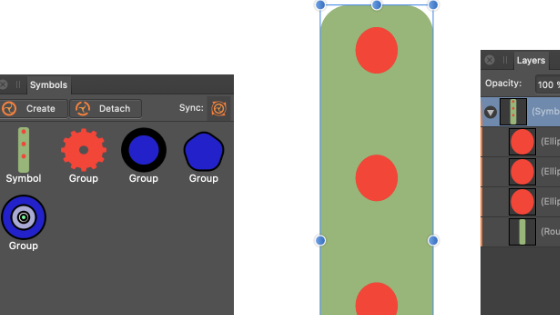
4. To add an instance or copy to the document in Affinity Designer
Drag symbol from the symbols panel and repeat for the number of symbol copies you wish to create and Move symbols around document and Resize etc. It is super easy to add them to the document and once added, they can be duplicated and then edited etc as required
5. To detach an instance
Select an instance of a symbol and click the detach button and edit the paths as normal. If you wish to add it as a symbol, click the create button. Once it has been detached, you will see the entry in the layers panel has changed and any changes you make to the path now will not change any of the instances or the symbol.
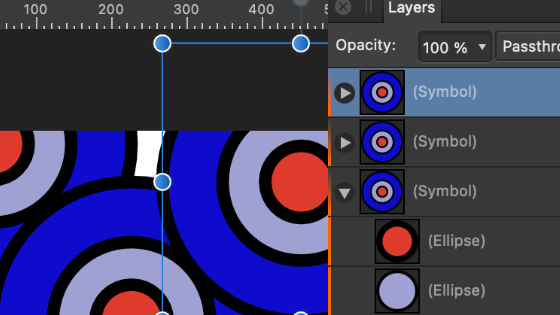
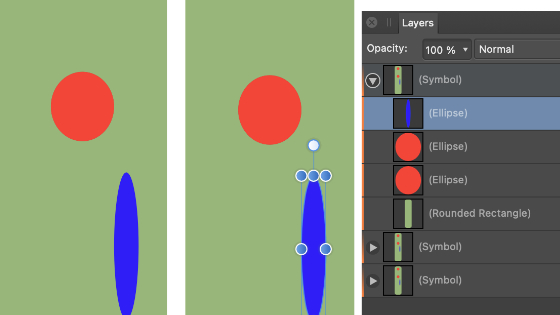
6. Edit the symbols - you can edit the symbol instance in numerous ways
Select a symbol instance and drag the design to the art board and go to the layer panel and expand the layer panel. You will see a single path or multiple paths. To change one of those paths (and the symbol)
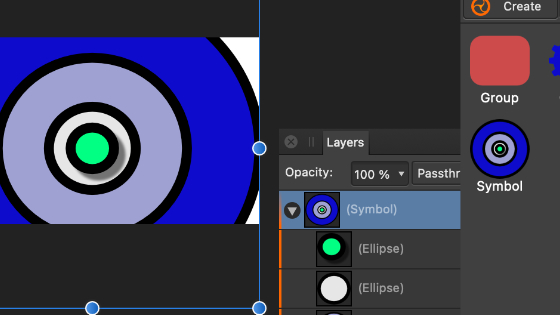
Click the path you wish to change and apply layer effects or change the color to a solid color or gradient or perhaps round the corners using the corner tool or and shift or scale the path or rotate the path. You can also repeat the same with other paths in the symbol group of paths. Any change to the paths will be reflected in a change to all the copies and the symbol in the panel.
If you select the entire symbol and change the color or add layer effects (such as blurs), all the paths in the symbol will be changed.
7. Add new paths to symbols in Affinity Designer
You can edit the symbol and add new paths etc. It is probably easiest to edit the symbol by working on just one symbol in your document. Changing colors and you can work with instances but adding additional paths or anything of complexity, it can get a little more messy. I find it easier, single symbol on the art board and double click and edit the design such as add paths or delete paths etc. The key panel to use is the layers panel. Any change to the design will be reflected in the symbols panel
As long as the designs are in the group structure of the symbol then the symbol will have those additional elements and when you come to see any instances they will be identical. You can, of course, still edit the instances by double clicking them and moving the shapes etc but everything is relative to the symbol. The key panel for control of this is the layers panel
8. Remove paths from symbols
Go to one of the symbol instances in the layers panel. Rename the symbol to 'main' or something unique (just makes it easier to always edit and add and remove from a single instance - it is easy to confuse paths and symbols). Expand that symbol instance in the layers panel. Go to the path you want to remove and Press delete
You should now see all the other instances update and the symbol in the symbols panel also
9. Symbols in document
You should note that the symbols are not permanent, they are only for the document. There appears to be no way with the current version to save them for permanent use in other symbols such as with Illustrator symbols AI files (hopefully this will happen in Affinity Designer 1.7 or 1.8 perhaps ?). Nor is there an import feature to import symbols without having them first in the document.
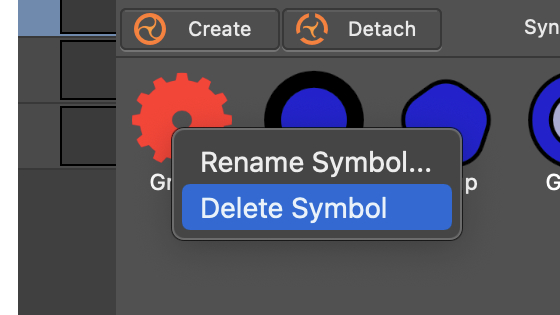
10. Deleting symbols and rename
You can right click any of the symbols and delete them as well as rename them.