Affinity Photo Contour Text Color Effect Tutorial
graphicxtras > Affinity Photo tutorials > Affinity Photo Effects tutorials
Add colorful contour designs to your text in Affinity Photo, how to create contours and combine with macros to create amazing punchy text designs for your work, how to warp, how to re-color etc.

1. Start point for the contour text effect in Affinity Photo
Goto the artistic text tool and create some text / type for the document. The key panels to use for this can be found in the view menu and studio - select the layers panel and the macros panel.
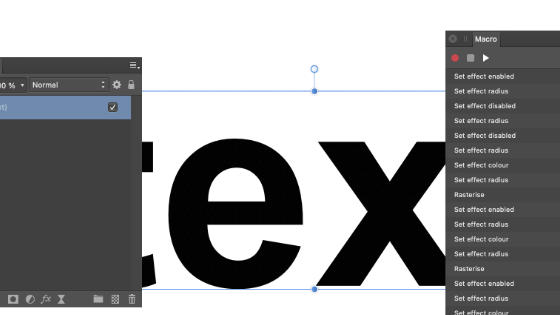
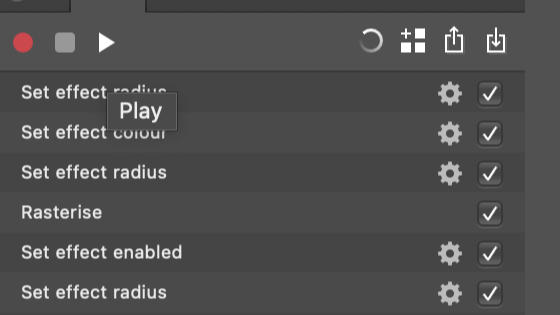
2. Macro for the contour text - Record
You can do this effect manually, of course, but generally macros make it easier and reproducible. You can also save this to your library for future work.
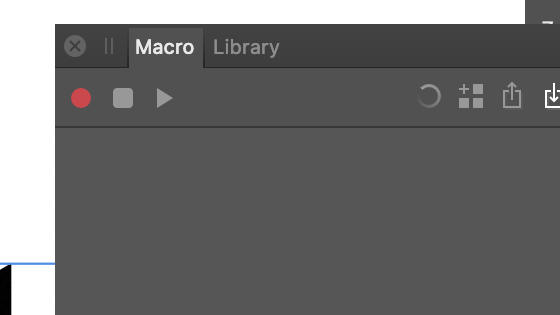
Go to the macro panel and go to the top and click the record.
3. Layer effects / outline for contour text
With the text selected go to the layers panel and go down to the bottom of the panel and click the 'effects' button.
This is being recorded and will be reproduced if you re-run the macro. The panel will display the 'outline' option on the left side, click that tick box and then set the radius as well as the alignment (outside) and fill color of solid color and set the color. Click close

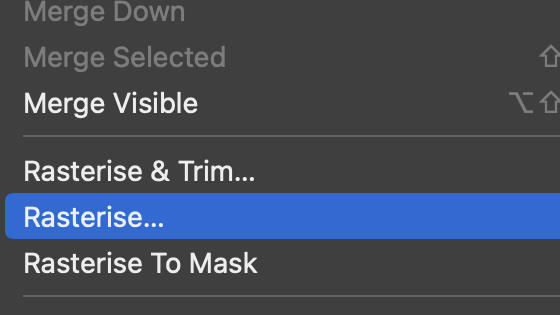
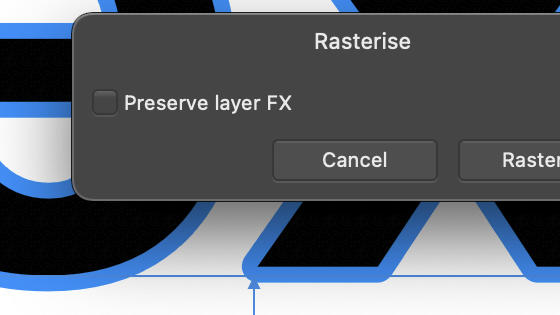
4. Rasterize the contour text and outline effect
Goto the layer menu and rasterize command and deselect the preserve layer 'effects' box (this has to be repeated each and every time as you can only have one stroke per layer).
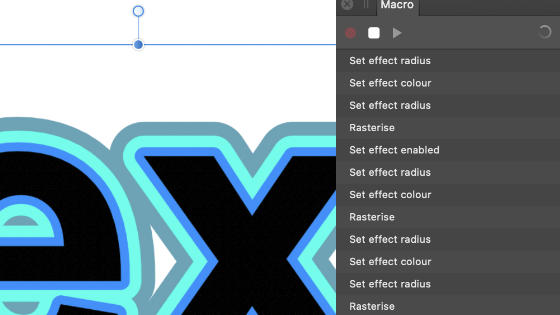
5. Repeat the steps of adding effects and rasterize
Repeat the previous step of clicking the 'effects' button and set the color and radius etc and then go to the rasterize and deselect preserve and repeat and repeat as many times as you wish with different (or the same) radius settings though always remember to change the color so perhaps go red, green, blue, purple, yellow etc or perhaps use the swatches etc to add a more consistent color or perhaps go black, white, black, white, black etc
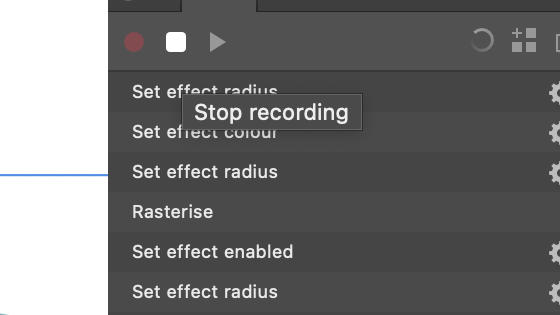
6. Stop recording the outline effect and rasterize
Once you have decided that you have created enough, goto the macro panel and stop the recording by clicking the button next to the recording button. You can also now save it to the library panel if you wish to re-use it in future or you can reset it in the macro to clear the macro.
7. Apply the contour / outline effect to your text
You can now apply the macro to the selected text and you will end up with the same contour. You can also create some new text and then apply the macro to that.

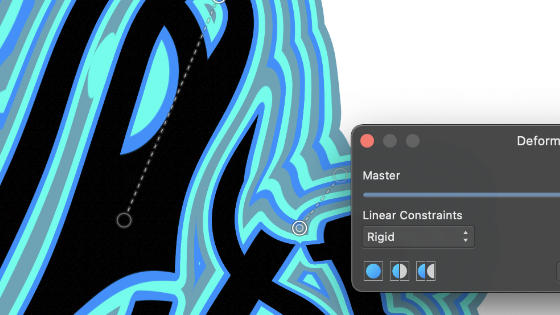
8. Additional tweaks to the contour text effect such as deform
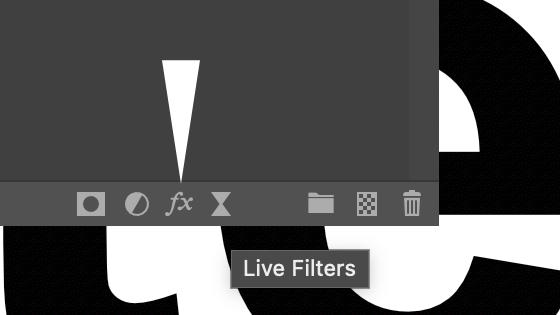
Once you have your contour design, you can also then apply effects to it such as filters menu and deform or mirror or perhaps use the live filters layers to add different effects such as twirl filter effects as well as deform filter effect and blur filter effects etc. You can also then go to the layer menu and run the new pattern layer from selection.
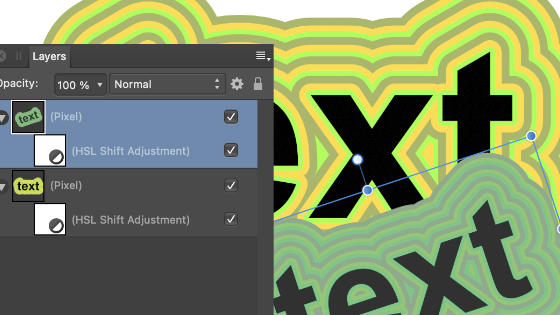
9. Re-color the contour text
You can select the contour text layer and then go to the layer menu and new adjustment layer and select HSL etc and then re-color the design such as turning all the reds to greens etc. You can also add adjustments such as black and white to turn the design into black and white. You can also select the mask thumbnail for the adjustment layer and then adjust only part of the text.