Photoshop Psychedelic Poster Ripple Creation Effect Tutorial
graphicxtras > Adobe Photoshop tutorials > Photoshop effects tutorials
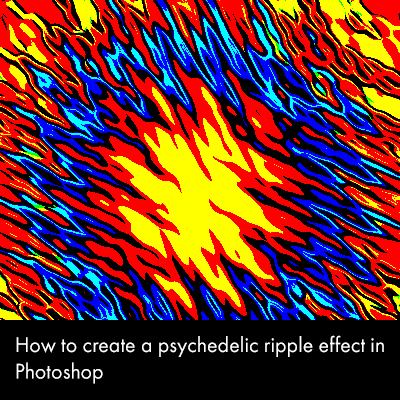
Learn how to create amazing psychedelic ripple filter effect using gradients for Adobe Photoshop tutorial. You can create beautiful colorful hippy ripples in Photoshop by using gradients. The key thing is to set the gradient style to "radial". How to create all kinds of psychedelic poster hippy trippy effects using the ripple effects combined with gradients
** Youtube video tutorial on how to create a psychedelic ripple poster effect in Photoshop using gradients and ripple filter etc **1. Guide grid using the new guide layout for the psychedelic effect
If you want to create an interesting Psychedelic ripple and want the Photoshop gradient to be all located from the center then setup up a guide using the view menu
and new guide layout.
You can then center any radial colors from that center or from another position (the same, for consistency)
2. Apply the Gradients to create the initial psychedelic effect
You can then apply the gradients over and over from one particular center point and using a difference blending mode, you can generate a seriously complex circular / contour artwork. Apply the gradients again
You don't have to use them in the same blending mode and you don't have to use blending modes, you can use them with opacity as well or perhaps use presets which include transparency to create even weirder ring artworks.
You can also combine the rings with other effects as well as ripple to create awesome psychedelic effects from the 60s - great for t-shirts etc.
3. Ripple psychedelic effect added to the current design
Filter menu and then Distort and Ripple filter and Set the size to large and set the amount to 999% - perfect for creating an interesting 60s themed effect.
4. Re-color the ripple effect using adjustments
You can also then manipulate it even further if you add image adjustments via the layer menu and new adjustment layer, add gradient maps adjustments as well as hue and saturation and others
5. Turn psychedelic effect into a smart object
You can also use the presets (before the ripple is applied) and then turn the entire artwork into a smart object via the layer menu smart object command. You can then use the smart object with a smart filter ripple which enables the effect to be changed from extreme / large to subtle. The smart object design can also be dragged to the creative cloud libraries and stored for future use
You can also add multiple ripples as well as multiple other effects and with the latest versions of CC, you can now add additional smart adjustments that can be used to totally change the color of the effect such adding additional 60s vibrancy as well as perhaps turning the image into a black and white or sepia effect via hue / saturation adjustment.
6. Ripple Psychedelic HDR
You can also create even more odd color combinations and ripples by using blur filter effects and posterization (as well as oil paint filters) or use the blur and cutout (from the filter gallery plugins). Such a pity that the posterization tool doesn't split the colors into layers
Filter gallery and Poster edges and low settings and Vibrance and Use HDR toning found in the image menu and adjustments to add a slightly more surreal touch. Goto the Image menu and Adjustments and then Posterization. Set to the minimum can also result in some interesting psychedelic color effects
7. Liquify to create ripple for the psychedelic effect
Instead of using a distort filter, you can use a tool such as liquify (filters) and create the ripple manually by dragging the pixels out (as well as inwards) from the center of the image using a low setting for the liquify brush (forward warp tool). Repeat from the center multiple times in different directions. You can then combine the results with blurs / posterization etc.
One useful feature of the liquify is that you can click the 'show guides' feature and see the guides created to show the center for the liquify and the ripple. The liquify approach does also mean a more random rippling effect can be created.