Illustrator Spiral Tool Tutorial
graphicxtras > Adobe Illustrator tutorials > Illustrator tools tutorials
Learn how to add to and enhance spirals paths and much more in Adobe Illustrator using a variety of techniques such as width profiles and width tool and blobs, how to use the spiral tool, how to use with repeats and more. Enhancing spirals in Adobe Illustrator.
** Youtube video tutorial on how to use the wonderful spiral tool to create all kinds of amazing spiral designs **1. Where is the spiral tool
The spiral tool and generated path is pretty decent already but you can add to it, enhance it in many ways. You can find it under the line segment tool in the toolbar
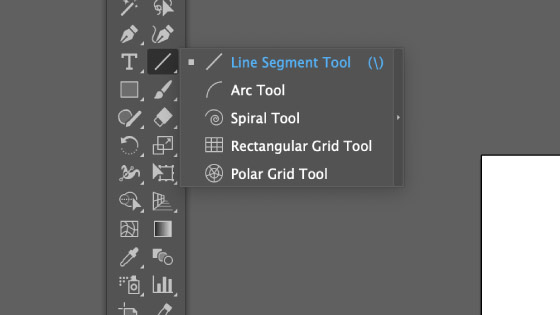
2. Basic spiral tool functionality
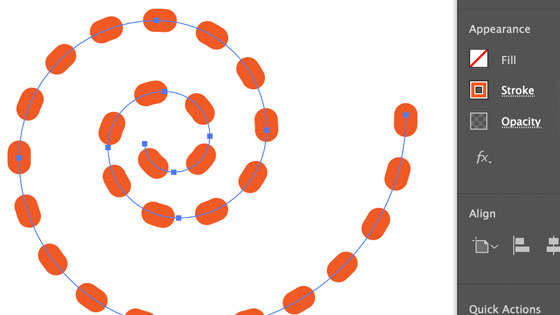
Line segment tool in toolbar of Illustrator and then Select the spiral tool in same group and Set the fill and stroke color and Apply spiral from origin point. Set Stroke options set dash style to ON. Set dash style round cap and 5pt and 2 / 10 dash and gap (though the settings can vary depending on the size of the shape etc so 50 / 100 are just as good
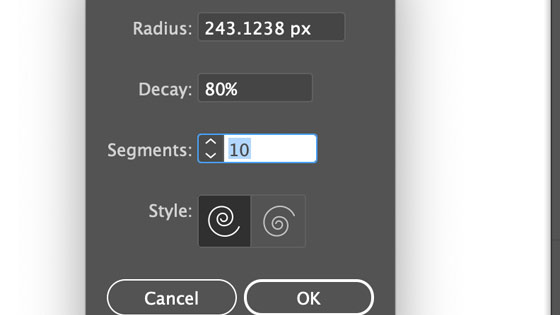
3. Spiral Tool dialog panel and spiral options
OK, the spiral / tool path in Adobe Illustrator is pretty good to begin with Illustrator and you can generate a number of variations just by changing some of the spiral settings by clicking the art board (or in my case, double clicking as I never get things to respond first time around) - it always slightly bugs that it doesn't work by double clicking the tools
OK, once you have the basic spiral it has a stroke setting and that is about it and it is made up of as number of points. Here are a few ways to enhance it.
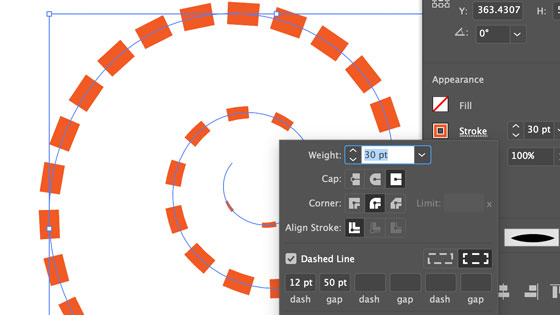
4. Stroke options for the spiral paths in Adobe Illustrators such as adding dash options to your spirals

You can add a round cap to the selected spiral path as well as dash options via the stroke options drop down to create some amazing spiral paths in Adobe Illustrator
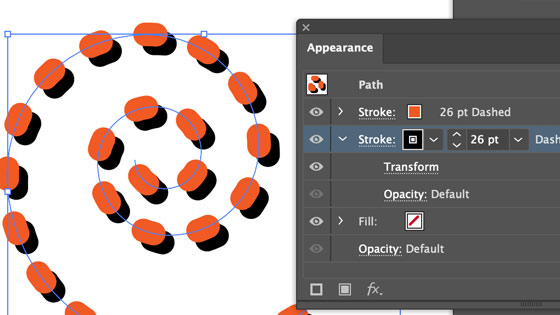
As you can also add additional strokes with the appearance panel, you can also quickly add a shadow via the appearance panel right side menu and add new stroke or use the duplicate selected item and then just change the color of the design and apply a live effect transform 'move' to that entry
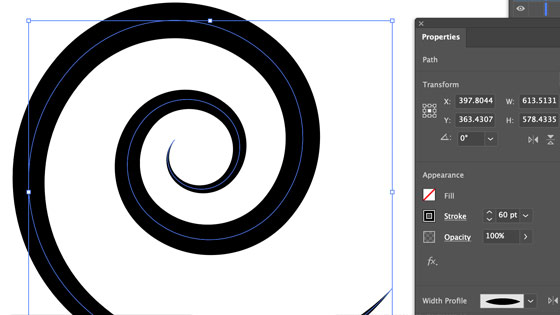
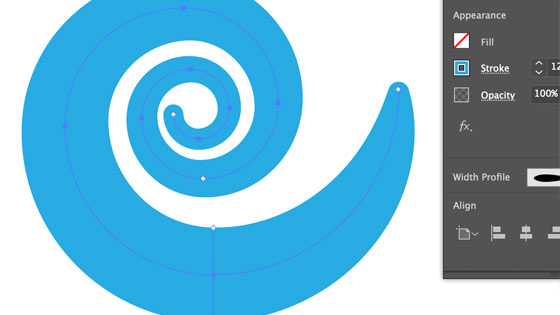
5. Width profiles can be added to the spiral paths to create beautiful designs in seconds
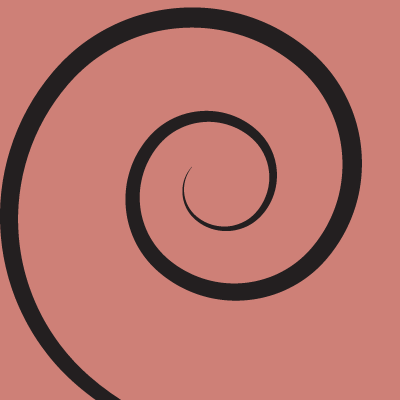
Select the spiral and then go to the stroke and set to say 60pt and set to black and then go to the width profile drop down. The number of width profiles is fairly minimal and I would love to see more added in future versions.
There is an add width profile but all the profiles I have added (and I have added many over the years) never seem to remain and the list goes back to the default set.
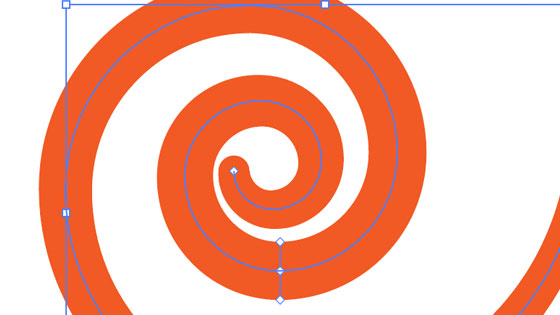
Anyway, you can add any of the existing profiles and that will add a lot more style to the spiral in seconds. You can also manipulate the profile by using the width tool and the tool can change the width at any point along the path and not just at anchor points. You can make thin as well as thick widths but they are all symmetric.
You can click the 'width bar' as well as the point and drag that back and forth along the path to change the size left and right or as it lists it, side 1 and side 2.
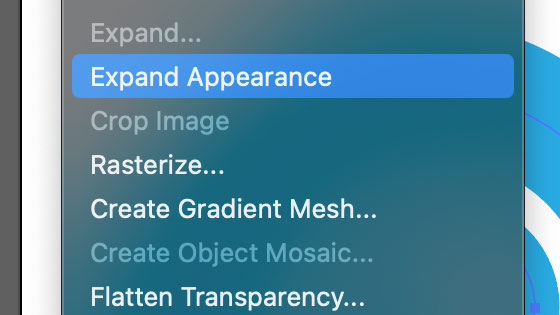
The result can be expanded via the expand appearance command found in the object menu though the end result can generate a lot of extra points.
6. You can use the 'simplify' feature to create interesting straight line designs etc

Using the simplify (found in the object and path menu) combined with the widths you can generate some very interesting and unique spirals. By reducing the curve precision of the simplify you can generate more hand drawn like spirals.
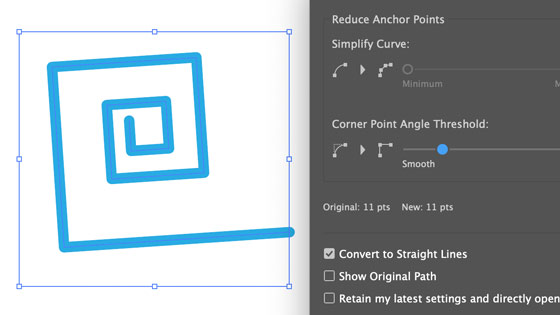
The straight line option is probably the most interesting if you wish to create square like spirals or chunkier types and you can do this by combining the results with changes to the angle threshold.

Some of the path designs generated will be just a random collection of points but setting the perfect angle threshold will result in some truly abstract artworks. Or use the straight line spiral designs with width profiles.
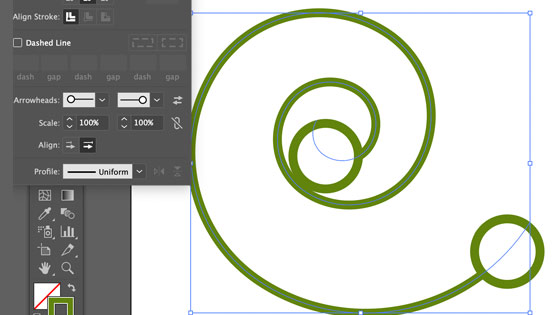
7. Spirals and Arrowheads
Use arrows as well with spirals, go to the stroke settings and check out the options available for the arrowheads.
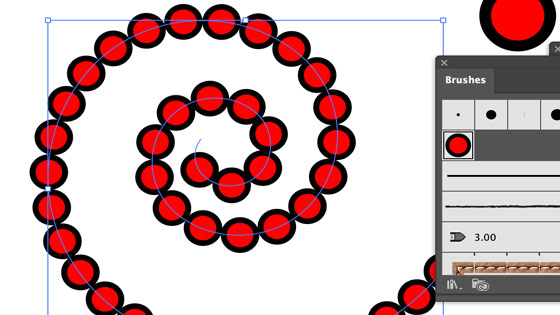
8. You can add brush strokes to your spirals in Adobe Illustrator to create wow designs in seconds
You can create all kinds of weird and wonderful spirals by adding a stroke width along with selecting brush definitions. As you can add all kinds of paths to the brushes panel, all kinds of wonderful artworks can be generated using the source spiral (such as dots and splatters and rough inks, text, images etc).
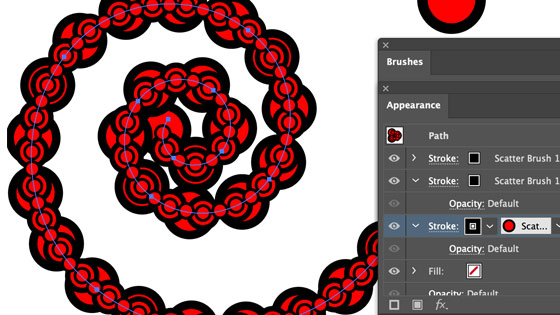
You can add multiple brush definitions by using the appearance palette. Add duplicates of the stroke and then change the stroke width of the individual entries such as set it to 0.5pt for one and 1pt for another etc. Sadly the color cannot be changed short of creating a new brush with a different color but same shape.
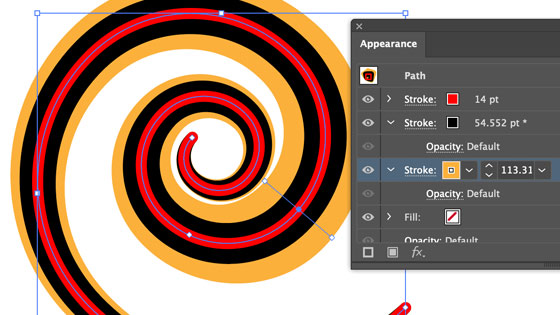
9. You can add even more wow to your spiral paths in seconds via the Illustrator appearance panel

You can combine width profiles and additional strokes to the path by using the appearance panel (found in the window menu).
You can add additional fills but they are generally of no use.
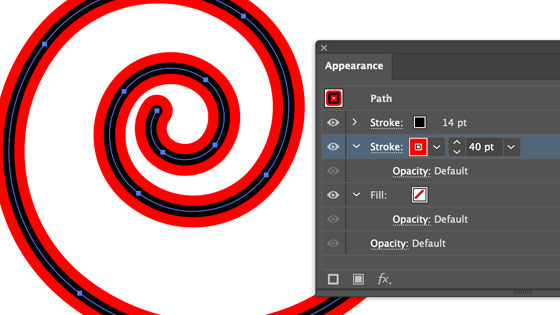
You can also use effects as well such as blurring the spiral etc and all those settings can be controlled via the appearance panel. Go to the right side menu with the selected spiral path and then add additional stroke.
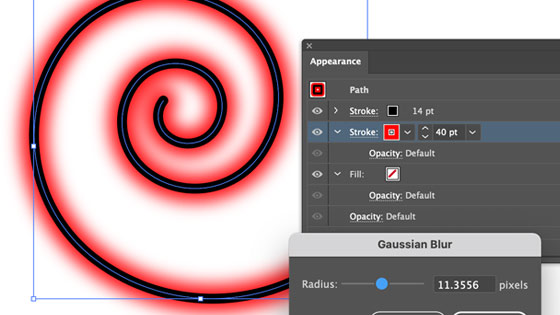
If the current stroke is set to 60pt then to see both, one of the strokes have to be slightly smaller or you have to use blending modes / transparency. You can also use different width profiles with the different strokes as well as combine that with the width tool - so at a single point you can have multiple thick and thin profiles and they can be very varied along the path. The width tool can be used on each stroke
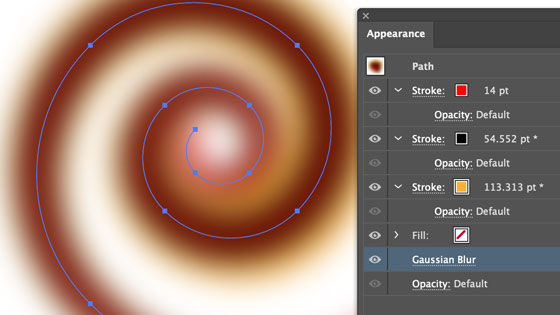
10. You can also add effects such as gaussian blurs to the spiral paths in Adobe Illustrator
You can add gaussian blurs etc to the spiral path as well or perhaps shadows. These can all be manipulated via the appearance panel. You can also use other tools such as the awesome symbol stipplism or stipplism plugin from Astute Graphics' range to create amazing fills for the path
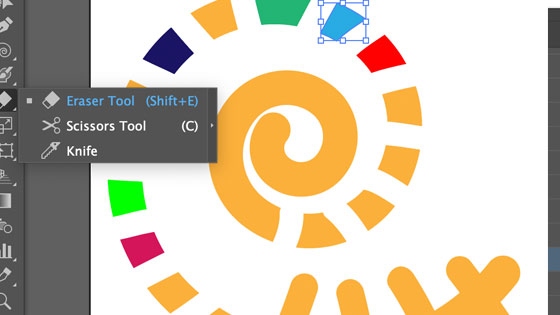
11. Path eraser tool cutting into the spiral
You can use path eraser tool to cut into the spiral. Select the tool and go to the spiral path and then cut across the points to separate the design into separate paths. You can shift parts of the spiral path, you can re-color the stroke for each of them, you can add effects such as blurs to parts of the spiral, you can re-size the width, use it with width profiles, different brush strokes etc.

12. The blob tool can add to the spiral path in 1000s of ways to create amazing new spirals

Once you have expanded the spiral via the expand appearance command (object menu) or expand command (depends which one is available), you can add additional blobs to the spiral path via the blob tool.
You can add small blobs as well as long thick lines. You can add them to the edge of the path but you can also use the blob tool to join the different arms of the artwork.
The opposite to the blob tool being the eraser tool, you can remove parts of the path creating a mottled spiral path (of course, you can also just use the ellipse tool etc and add different color spots etc or lines along the path as well). The end result being a greatly enhanced artwork which can be added to the CC library or exported for use in Photoshop etc
13. Spiral Tool and Repeat
If you have 2021 or above, you can use the repeat feature with the spirals to create all kinds of awesome designs. Go to the tool and create a design with a stroke and size etc. You can create the spiral in the panel or you can use the settings in the panel to create a quick path.
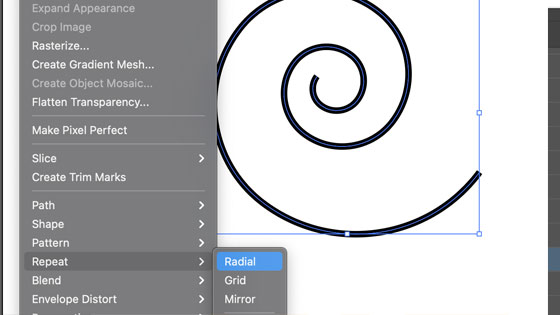
The path can then be modified by width profiles, warps etc though it should be noted that some things such as widths maybe expanded within the repeat object. The spiral can then be duplicated radially as well as grid or mirrored via the object menu and repeat and radial etc.
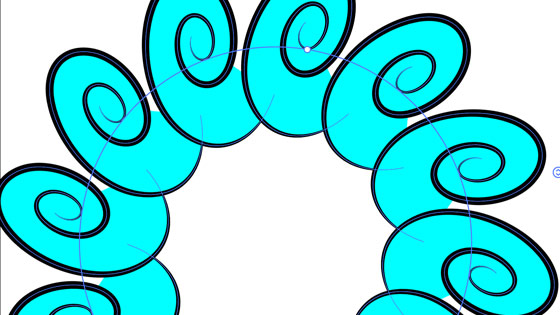
The interactive controls to add more instances or change the width of the spiral design are super useful. You can also use the properties panel to change the repeat setting. You can modify the spiral once you have added the repeat object by double clicking the path, any path within the repeat object and the results of any change are 'real time'.
You can add multiple repeats together to create very complex and beautiful designs,