Affinity Designer Diamond Tool Tutorial
graphicxtras > Affinity Designer tutorials > Affinity Designer Tools tutorials
How to use the diamond tool to create diamond shapes and how to fill the design, how to change the diamond shapes, use with the geometry features, use with the corner tool, how change the midpoint and much more
** Youtube video tutorial on diamond tool in Affinity Designer to creaqte amazing diamond designs in seconds **1. Where is the Diamond tool
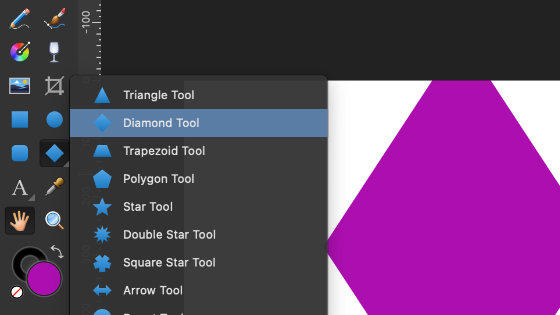
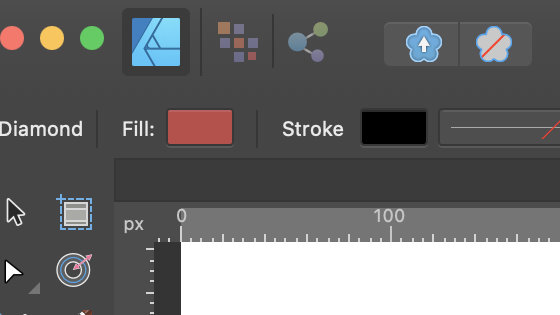
The diamond tool is found in the toolbar of Affinity Designer (along with all the other shape tools such as the cog tool and corner tool). Click on that and you will see the options for the tool appear along the top
2. Diamond shape tool options
There are not a huge number of options : midpoint and mirror. They are available along the top bar of the application as well as an interactive control . There are the usual options of fill color and stroke which can be found with all the tools.
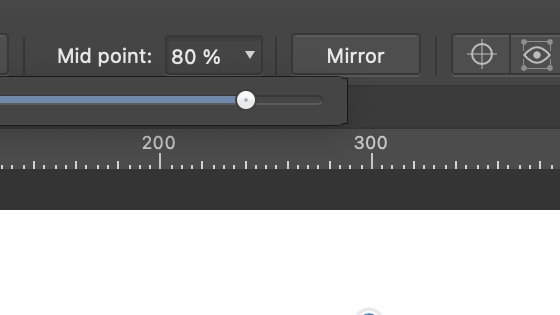
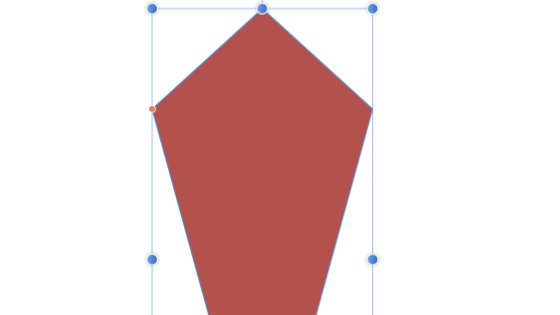
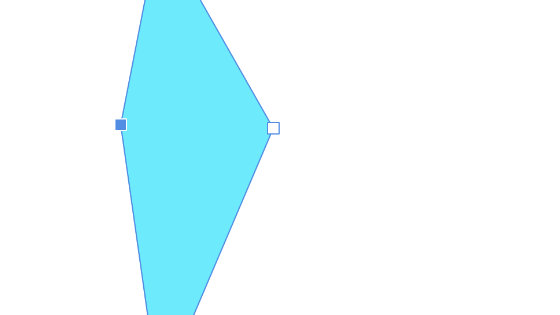
The diamond midpoint (only displayed when the diamond tool is selected) can be lifted up or down (assuming a vertical diamond) and if you stretch it far enough the design becomes a triangle.
3. Fill the diamond with color
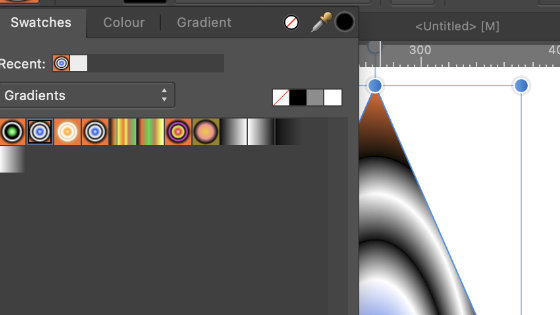
You can fill the diamond with a solid color as well as selecting a swatch (gradients etc).
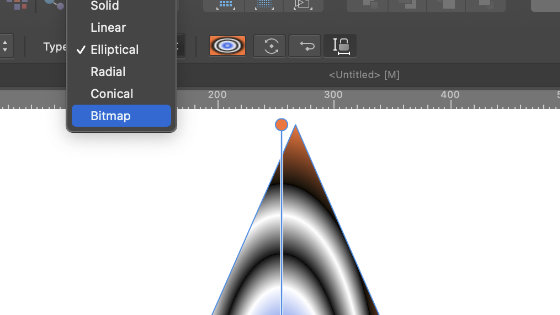
You can also fill the diamond shape with a gradient by using the gradient tool and that means radial, ellipse etc as well as bitmap so you can also quickly fill the design with a tiled image which can be scaled and rotated as required.
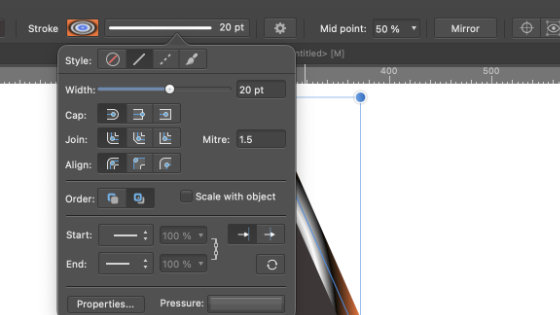
The diamond shape can also have a stroke which can be filled with a solid color as well as a gradient (apply via the swatches panel)
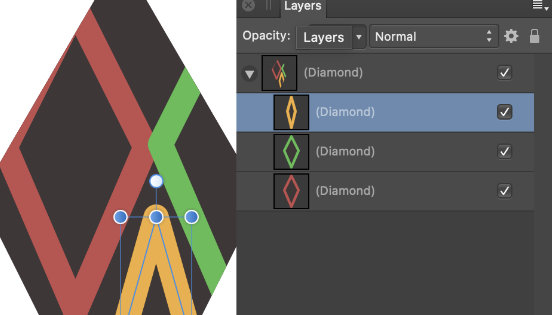
4. Paste inside diamond
You can also fill the diamond design with all kinds of additional fills by selecting some paths and then selecting the diamond and edit menu and paste inside command and those vector designs will then make up the fill. You can then go to the layers panel and manipulate the individual paths of that design. The design can be grouped in layers in many different ways
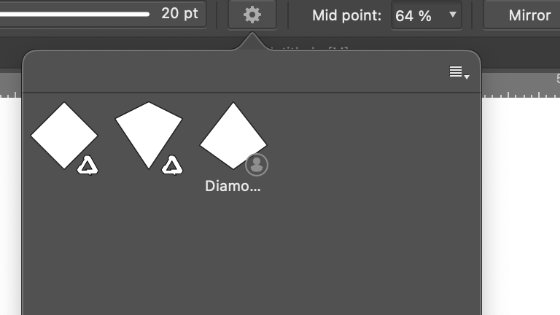
5. Add the current diamond to the presets
Select the current design and then go to the little gear settings button along the top of the application and click to display the current presets for the tool. Go to the right side menu and create a preset. The preset will only be added if it is different from the previous presets and nor does it record the scale or rotation, it only stores the tool's settings (midpoint). You can use presets to quickly select a design and then add it to the current art board.
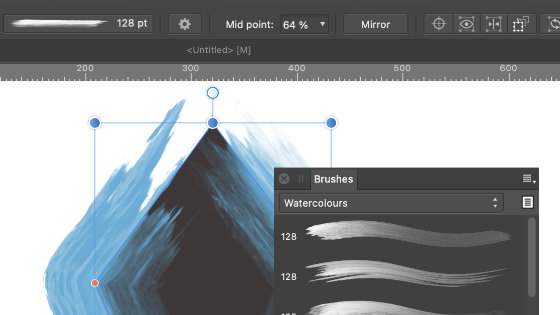
6. Diamond brush strokes
You can add a quick brush stroke using the current stroke color by going to the brushes panel (view menu and studio and brushes) and selecting a brush. The brush will then be added to the diamond stroke. You can modify the diamond brush even further by using the stroke settings and profiles.
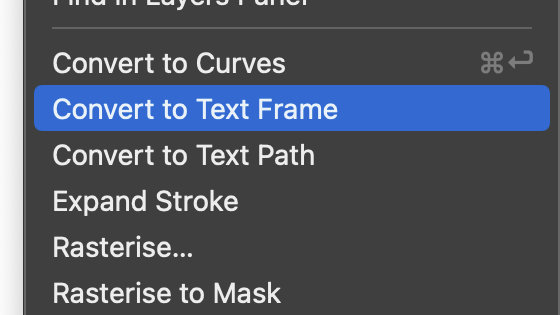
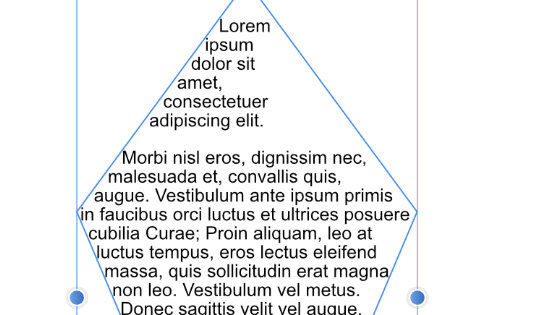
7. Diamond text frame
You can also use the diamond shape as a wonderful container for text. You can turn it in a text frame or text path via the layer menu commands. The diamond shape is still live so you can still modify the midpoint as well as scale and rotation etc
8. Diamond shape and contour tool
You can also create fascinating contoured diamonds by using the contour tool also found in the toolbar. With the diamond selected, select the contour tool and drag in or out and it will generate a contour around the current selected shape and you can vary the type and also you can bake (or freeze) the appearance. You can re-apply the tool multiple times to create ever complex edges to your design.

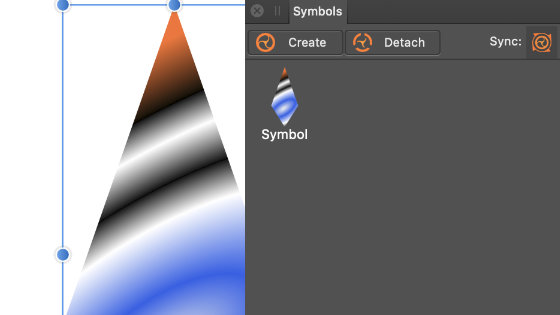
9. Diamond and symbols
Create your design and if you wish to store it away in the symbols panel then simply go to that panel (view menu and studio) and with the diamond selected, click the create button. You can now re-apply the design over and over and any change to the source design will be reflected in the instances.
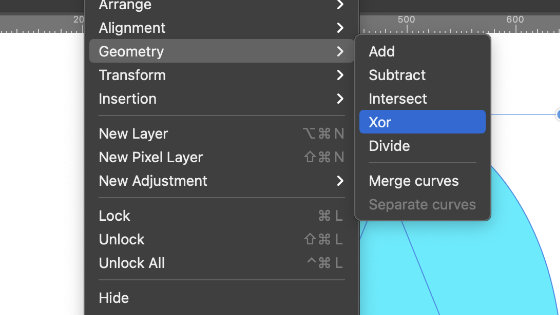
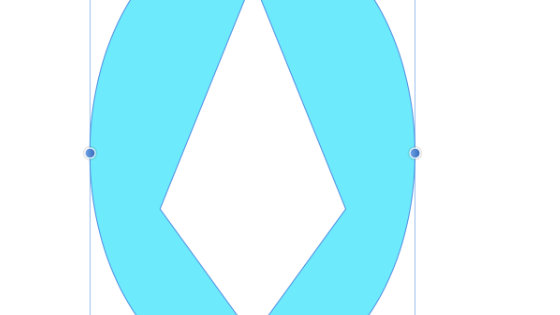
10. Diamond combinations and Geometry
You can create one design with the diamond tool but you can repeat the design over and over, perhaps on top of the original design but smaller. You can also add other designs such as an ellipse or cog / gear design etc. You can select all those shapes and then go to the layer menu and geometry and use options such as subtract or XOR etc and create even more unique designs. Note that the live features are lost
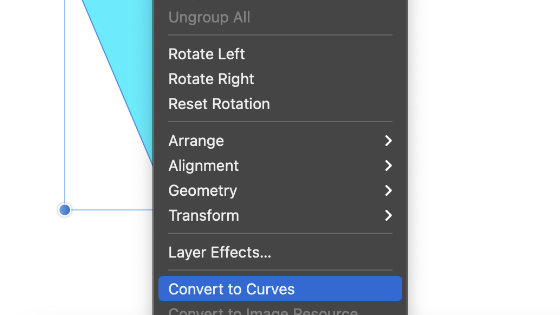
11. Convert to curves
You can select the diamond shape and then right click and select the convert to curves and the diamond will no longer be live but you will be able to change the position of the individual nodes by using the node tool to create all kinds of unique diamond shapes
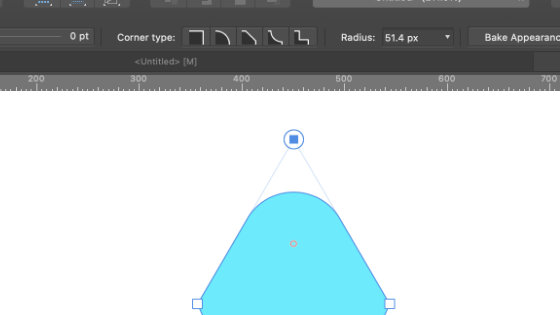
12. Corner tool and the diamond tool
You can use the corner tool to round the corners of the diamond, though as with the node tool, the shape is then no longer live. A variety of corner types are available
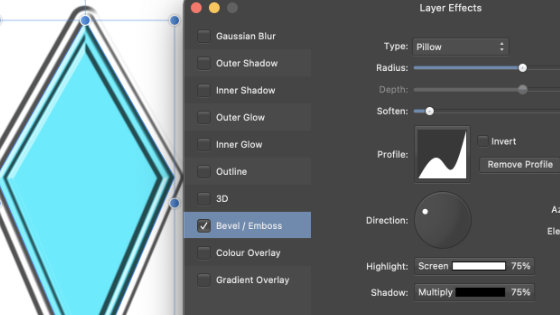
13. Diamond and styles / layer effects
You can also add layer effects to the diamond designs. You can find the bevel, shadow, 3D etc effects via the layer effects in the layer menu